How-to
How to lay a frontal so it looks natural
4 min read · Updated July 2026
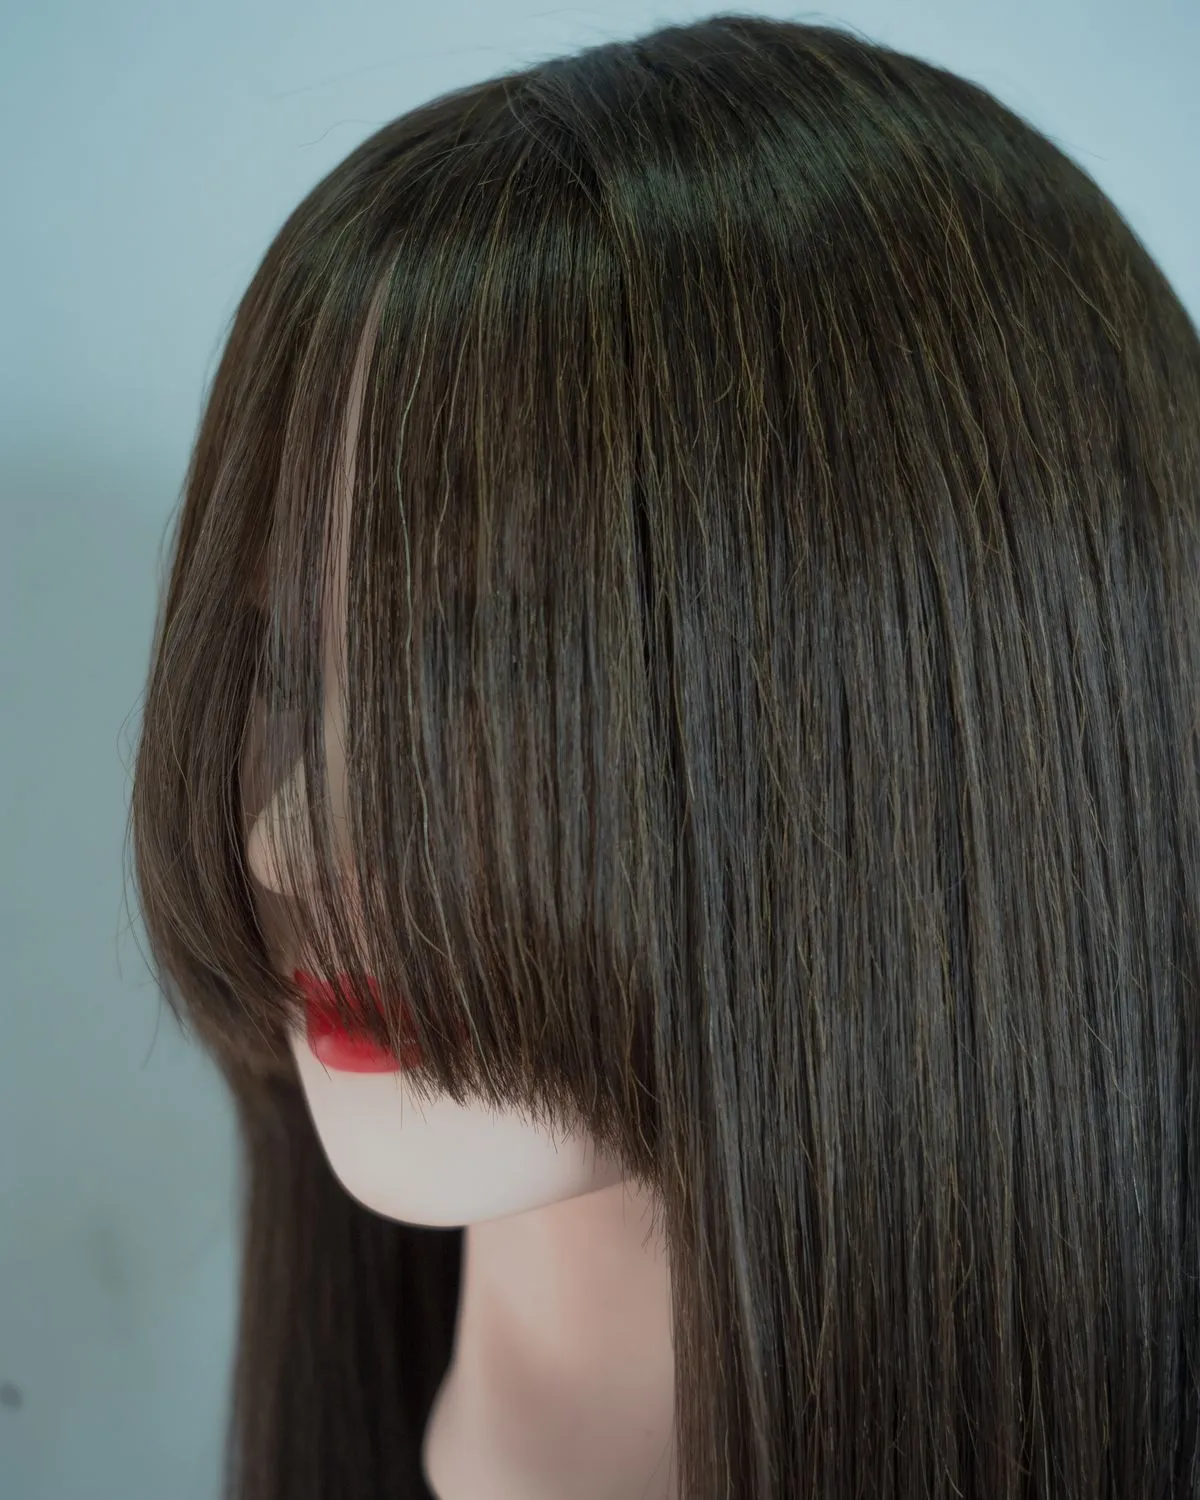
Get a melted, natural-looking frontal at home — customising the hairline, applying, and laying the lace step by step.
A frontal only looks natural once the lace “melts” into your skin and the hairline reads like your own. It takes practice, but the method is simple. Buy a pre-plucked HD frontal to skip the hardest part.
- 01
Customise the hairline
Pluck the hairline for a softer, more natural density if it isn't pre-plucked, and bleach the knots (or buy pre-bleached) so the roots don't show as dots.
- 02
Cut the lace
Cut along the hairline leaving a millimetre or two of lace — cut in a zig-zag, and never cut into the baby hairs.
- 03
Apply
Use a skin-safe lace adhesive or the elastic-band method around the perimeter. Press firmly and hold until it sets.
- 04
Melt and lay
Apply mousse and hold spray, tie it down with a satin scarf for a few minutes, then release and lay your baby hairs with an edge brush.
Keeping it laid
Keep oils away from the lace, refresh with a little hold spray through the day, and always take it down gently at the end of the day so the lace lasts.
Shop frontalsFrequently asked
Do I need glue to lay a frontal?
No — the elastic-band method (tying a band around the perimeter while it sets) gives a glueless melt. Skin-safe adhesive gives longer hold if you prefer.
What is bleaching the knots?
The knots are where hair is tied to the lace; they can look like tiny dark dots. Lightening them (or buying pre-bleached) makes the roots look like they grow from your scalp.
Why does my frontal look fake?
Usually an un-plucked (too dense) hairline, visible knots, or lace that hasn't been melted down. Pluck, bleach, and tie it down while it sets.
Shop this guide